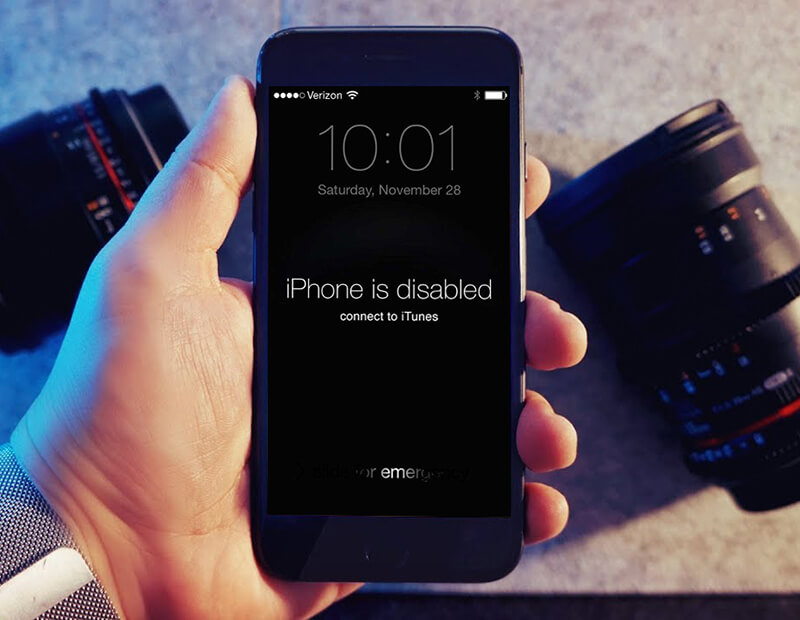
How to fix 'iPhone is disabled. Connect to iTunes'
If you see the 'Connect to iTunes' message - or, in iOS 14, 'Connect to a Mac/PC' - it's possible to get into your iPhone but you will lose all the data as part of the necessary recovery process.
You'll be able to restore the data from your last backup, if that's any consolation. You did back up, right?
Here's how to fix a disabled iPhone.
What you need
A computer: If you haven't got access to a Mac or PC, you may need to visit an Apple Retail Store or Mac reseller to use one of their machines.
A lightning to USB cable: You will also need a Lightning to USB cable. This could be a problem if your Mac only has USB-C and your iPhone cable uses the older USB-A... In that case you'll need an adapter or a USB-C to lightning cable.
If you own an iPhone 11, conversely, it will have shipped with a USB-C to lightning cable, which could be an issue if your Mac doesn't have USB-C...
Step 1: Enter Recovery Mode
The first step is to connect your iPhone to your computer and enter recovery mode. The method used will depends on the model of iPhone you have.
IPhone 8 and later
- Press and hold the Side button and one of the volume buttons and wait for the power off slider to appear.
- Drag the slide to turn off your iPhone.
- Hold the side button on your iPhone as you plug your iPhone into the Mac using your cable. Keep holding the side button until the recovery screen appears.
IPhone 7, iPhone 7 Plus, and iPod touch (7th gen)
- Press and hold the Side (or Top) button and wait for the power off slider to appear.
- Turn off your iPhone.
- Connect your iPhone to the computer while pressing the Volume down button until you seen the recovery mode screen.
IPhone 6s and earlier
- Follow the steps above: Press and hold the Side (or Top) button until the power off slider appears.
- Drag the slider to turn off your iPhone.
- This time connect your device to your computer while pressing the Home button.
- Keep pressing the Home button until you see the recovery mode screen.
IPad (Face ID)
- If your iPad has Face ID you need to press and hold the Top button and either volume button until the power off slider appears.
- Turn off your iPad.
- Now connect your iPad to your Mac while pressing the Top button.
- Keep pressing this button until you see the recovery mode screen.
IPad with Home button
- This time you can press and hold the Top button until the power off slider appears.
- Turn off the iPad by dragging the slider across.
- Now connect your iPad to your Mac while pressing the Home button.
- Keep pressing Home until you see the recovery screen.
Step 2: Locate your iPhone/iPad via your Mac/PC
Depending on the software running on your Mac or PC the next step will either involve the Finder (on a Mac running Catalina) or iTunes (on a PC, or a Mac running an older version of macOS).
macOS Catalina
- If you're running Catalina, open a Finder window.
- You will see your iPhone or iPad on the left side of the Finder window under locations.
- Click on it.
macOS Mojave or older
If you're running Mojave or older on your Mac, you will need to open iTunes. There are lots of different versions of iTunes you could be running, and the method varies:
iTunes 12
Click on the iPhone's icon in the upper-left corner of the iTunes window.
iTunes 11
Click on the iPhone tab on the right side of the window.
iTunes 10
The iPhone will be in the sidebar on the left.
On a PC running iTunes for Windows
The process will match one of the versions of iTunes listed above (depending on which version you're running).
Step 3: Choose the option to restore
Now that you've selected your iPhone or iPad on the computer you need to click on Restore.
Once you do this the necessary software will download. This can take a few minutes. If it takes longer than 15 minutes you might need to reconnect your device following the steps above.
Once the download has finished you will see onscreen prompts to follow. First you will have to wait while the data on your device is erased.
Step 4: Set up your iPhone
You can now set up your iPhone as if it was new. You'll get the option while following these steps to restore from backup.
